
HARMA Gold, Shops and Altars: Spending Guide
Where HARMA gold comes from, what to buy first, and how the merchant, Alchemist and altars compare in value.
HARMA gives you several ways to convert gold into power, and they are not equally good. The merchant sells cards and artifacts, the Alchemist offers four different services, the Sun altar removes a card and grants a passive, and the Moon altar heals or upgrades. A new player usually buys the flashiest card and then wonders why the deck got worse. This guide ranks the purchases by what they actually do to your win rate in the Early Access Rift mode. The short version: consistency first, power second, healing last. If your deck is already bloated, the deck-building mistakes guide→ explains what to cut.
What Gold Is Actually For
Gold is a run resource, not a score. Every coin spent on a marginal card is a coin not spent removing a dead starter or upgrading your main attack. The strongest early purchases improve the quality of your draws: removal, a key upgrade, or an artifact that raises your attunement reliability. The weakest purchases are situational cards you cannot support and healing you could have avoided with better play.
That does not mean you should hoard. Gold does not carry between runs, and a saved coin at the boss is worth nothing. Spend with a plan, but spend.
The Merchant: Buy Consistency, Not Rarity
The merchant's card selection is random, so treat it as a question rather than a menu. Does this card solve a problem my deck already has? If yes, price it against the alternatives. If no, skip it even if it is rare.
Good merchant buys:
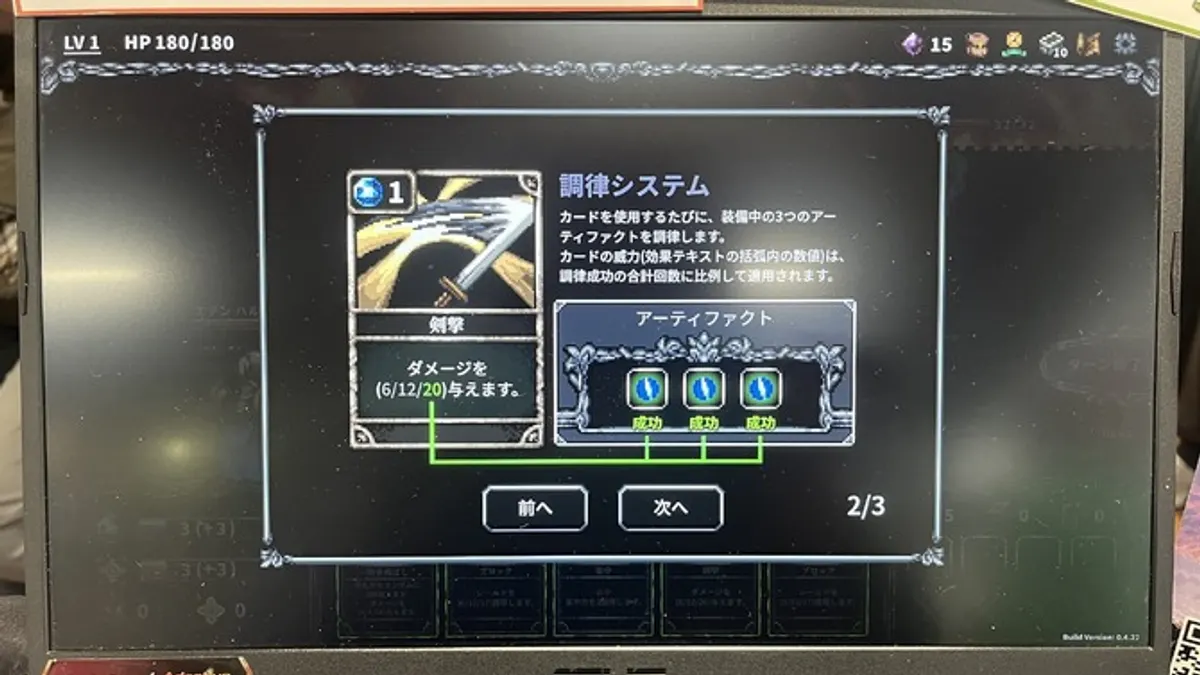
- A rate-boosting artifact when your key cards keep missing.
- A cheap draw or energy card when your hand runs dry.
- A second copy of a core card if fusion or redundancy helps your plan.
- A removal service when the merchant offers one and your deck is bloated.
Bad merchant buys:
- A legendary card with no support.
- A second engine when your first engine is half-built.
- A card you cannot upgrade before the boss.
The Alchemist: Four Services, One Budget
The Alchemist is the most flexible stop because it changes cards and artifacts rather than just adding them. The achievement for using four different services confirms there are four distinct options; the exact menu can vary by run and patch. In practice, the services fall into four jobs: upgrade a card, transform or reroll a card, improve an artifact, and remove or alter a unwanted element. Check the price and the result before committing. A cheap transformation on a dead card is often better than an expensive upgrade on a card you already like.
The Alchemist is also where you fix a mistake. If a card looked good in the reward screen but does nothing in practice, transform it instead of carrying it for the rest of the run. The card upgrade guide→ explains X/Y branches and fusion in detail.
Sun Altar vs. Moon Altar
| Choice | What it does | Best time to take it |
|---|---|---|
| Sun altar | Remove a card and gain a passive skill | When the deck has a clear dead card and the passive fits your lane |
| Moon altar | Heal or upgrade a card | When you are one upgrade short of a breakpoint, or need HP before a boss |
| Skip | Save the node for a shop or fight | Rarely; altars are usually worth one of their options |
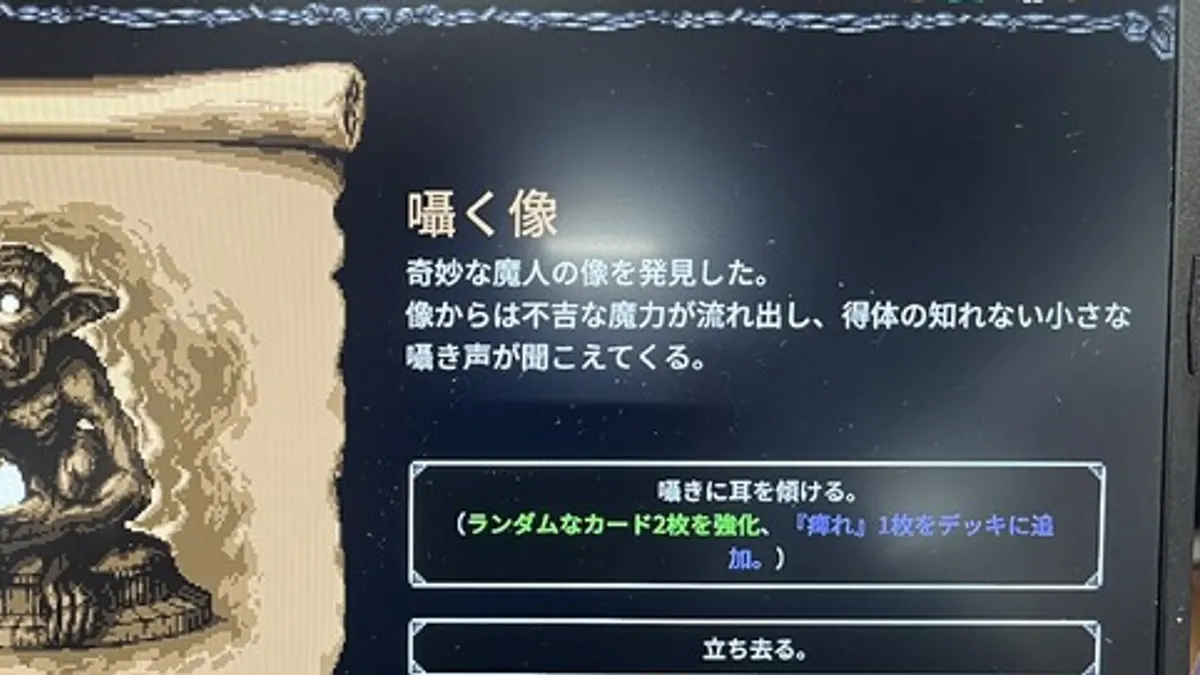
The Sun altar is the stronger long-term choice because removal improves every future draw. The Moon altar is the safer choice when your HP is low and the next node is an elite. Do not take the Sun altar just because removal sounds advanced; if your deck has no dead card, the passive may be the only real gain.
Look at your last three hands. The card that sat in hand while you played around it is the removal target.
Healing Is a Tax on Bad Play
Rest sites and Moon altars offer healing, and sometimes you genuinely need it. But healing does not improve your deck. If you find yourself healing after every fight, the problem is probably your block package or your attunement rates, not your HP total. Fix the cause: add a defensive card, raise a key artifact's success chance, or stop taking optional elites with a half-built deck.
In co-op, healing decisions are team decisions. One player carrying a defensive build can save the team more HP than three individual heals. The co-op guide→ covers role splitting.
A Simple Spending Order
- Remove one dead starter.
- Upgrade your main damage or block card.
- Buy one consistency artifact.
- Add one card that advances your chosen affinity.
- Heal only if the next boss would otherwise kill you.
This order is not absolute, but it prevents the most common failure: a deck full of cool cards that cannot execute a plan.
When to Skip a Shop Entirely
Skip when every item is either unsupported or overpriced, and you already have a clean deck. Saving gold for a later merchant or an altar is a real option, especially before a boss where you might need a specific answer. The mistake is skipping because you are afraid to commit, not because the shop is bad.
FAQ
Should I buy cards or artifacts first? Artifacts that improve consistency usually beat random cards. A card is only worth buying if it fills a known gap.
Is the Alchemist worth it? Yes, when it fixes a card or artifact you already use. It is not worth it as a random gamble on a card you do not need.
Can I heal at the Moon altar and still upgrade? The altar offers a choice, not both. Pick the option that solves the next fight, not the one that feels safest.
Official source: HARMA on Steam ↗
Sources
- HARMA on Steam ↗
- HARMA Steam news and patch notes ↗
- HARMA Early Access roadmap on Gematsu ↗
- HARMA launch report on AUTOMATON ↗